How to Wire a New House: A General Overview
When building a new home there are seemingly endless skills that are needed to get the job done right. From pouring concrete to framing, each step of the process is usually best handled by someone with experience and training. Wiring your new home is no exception and requires specialized skills and knowledge to ensure a safe, efficient, and code-compliant electrical system installation.
In this home wiring guide, we’ll provide a birds eye view of the steps involved in wiring a home as well as zooming in on some important details to keep in mind.
Planning and Permitting
Before diving into the actual wiring process, it’s essential to spend some time on planning and permitting. These initial steps help lay the groundwork for a successful project and ensure compliance with local regulations.
Plan For Utility
Developing a detailed wiring plan is the first step in any home wiring process. This plan should consider your home’s electrical needs based on the number and type of appliances, lighting fixtures, and power outlets you plan to use. This will help determine the appropriate electrical load for your home.
Plan the placement and layout of electrical outlets, switches, and lighting fixtures throughout your home, taking into account the installation cost and complexity, convenience for the homeowner, and local code compliance.
Plan For Safety
It will be necessary to incorporate essential safety features into your plan, such as Ground Fault Circuit Interrupter (GFCI) and Arc Fault Circuit Interrupter (AFCI) protection. GFCI protection is typically required for outlets in wet or damp locations, such as bathrooms, kitchens, and outdoor areas. AFCI protection helps prevent electrical fires caused by arc faults in wiring and electrical devices and is increasingly being required in most of your home’s living spaces.
Future Proof Your Home
Choose an electrical panel and wiring that can accommodate your home’s electrical requirements and allow for future expansion. While your household may not have an electric vehicle now, it would be prudent to plan ahead and include the possibility for high voltage connections in the garage.

Cut Through Red Tape
When building a new home there are numerous components that must meet code, and it’s always easier to build your system to meet these standards instead of making these changes after the fact. To some, these permits may feel like government overreach, but the standards are there to ensure that your home will be safe for decades to come.
Understanding the local regulations and requirements for residential electrical wiring is essential, however since local regulations vary it is outside of the scope of this article to provide a complete overview. Each jurisdiction has its own set of rules, and non-compliance can lead to fines or delays in your project. A reputable, professional electrician will be familiar with the local codes and can help ensure your project complies with these regulations.
The Wiring Process
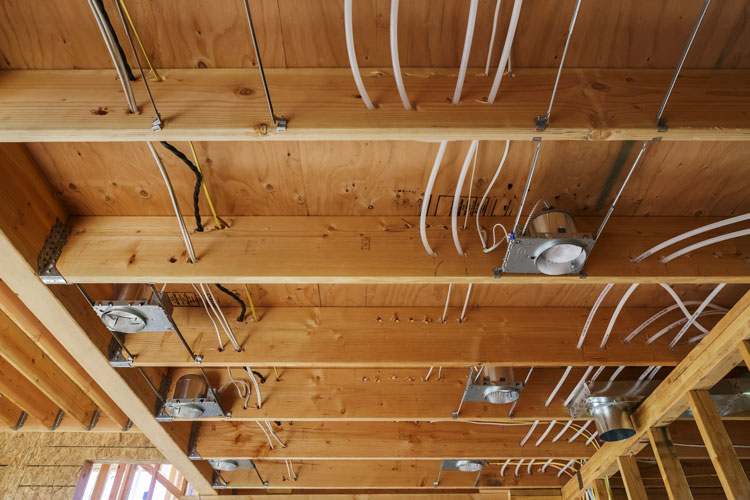
Once your plans are in order and you’ve verified that they will comply with local regulations it is time to start thinking about the installation itself. Electrical wiring installations happen in phases, with the rough-in electrical work happening after the home’s framing is up, but before the drywall is installed.
It’s generally a good idea to wait until the drywall is up and painted before moving on to switches and light fixtures – as masking these off is a time consuming task.
Electrical Panel Installation
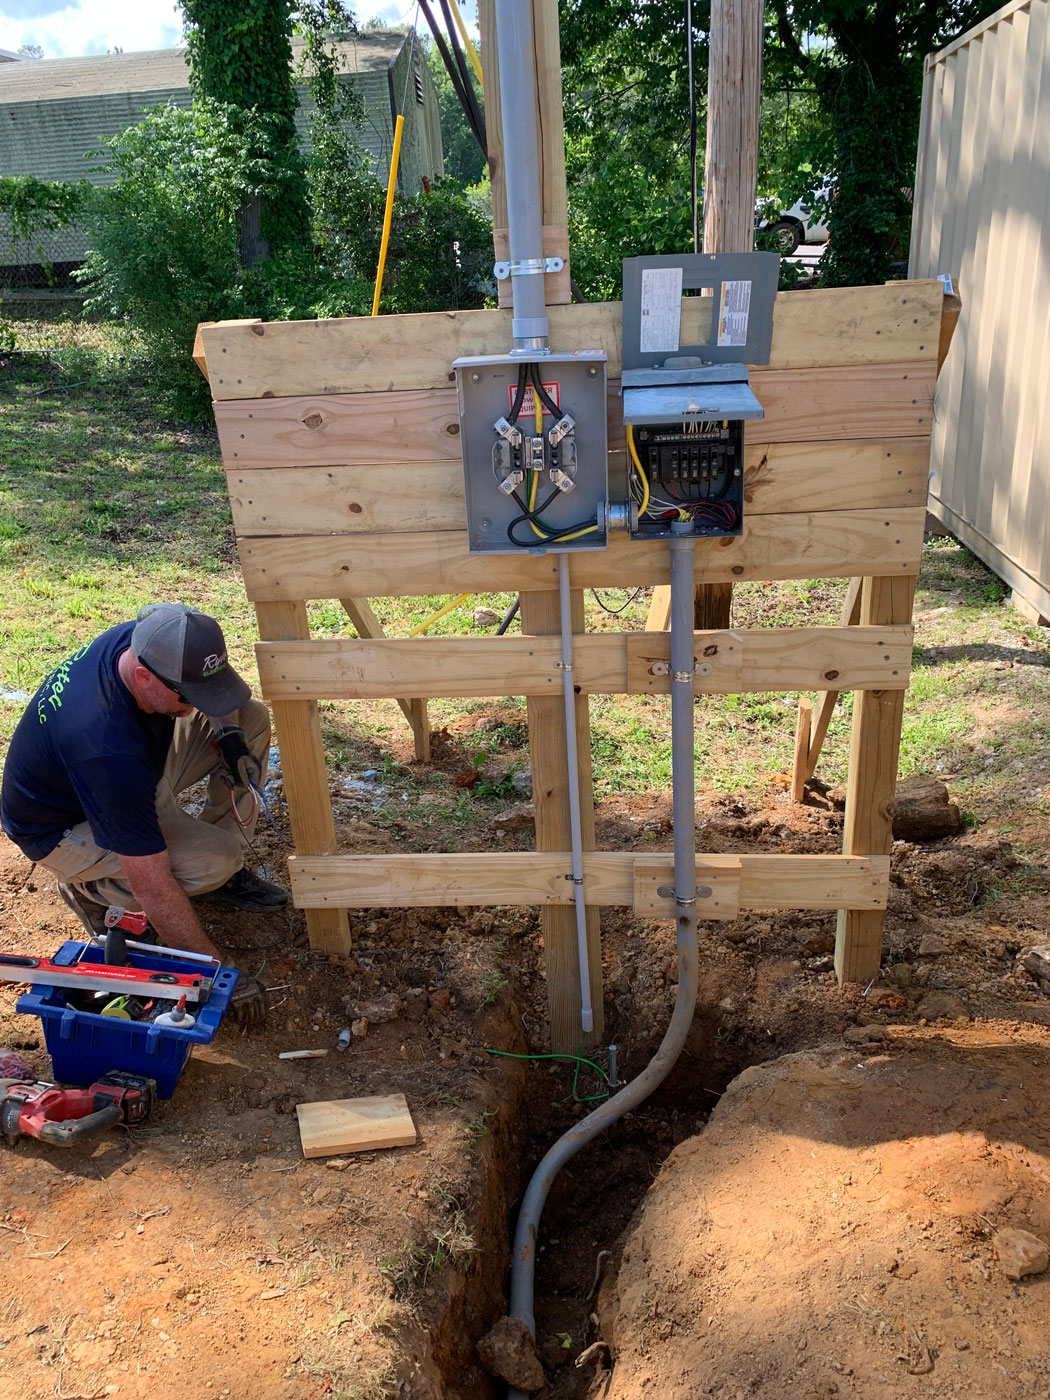
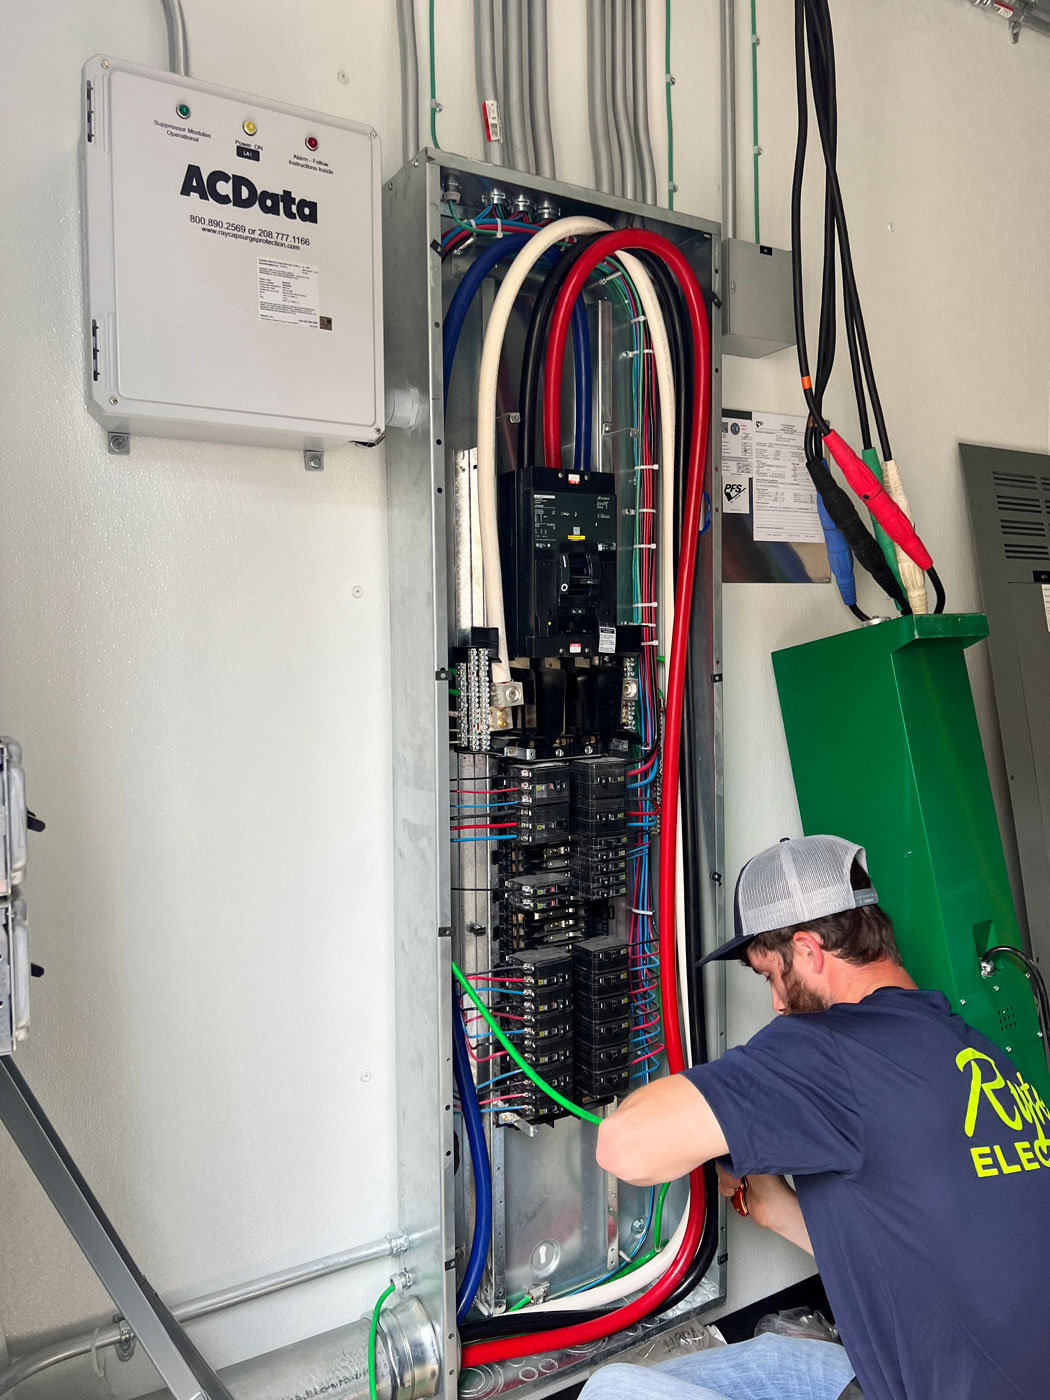
The electrical panel, also known as the circuit breaker box or service panel, is the central hub of your home’s electrical system. The electrical panel is the bridge between the utility company’s power mains and your home’s electrical system, and helps safely regulate power delivery to your home.
Your panel will need to be installed in a location that is easily accessible and complies with local codes. Panels should be installed in dry, well-ventilated areas that offer enough space for future maintenance. Keep in mind that access conditions may look very different once the drywall is in place.
Note: Connecting your home’s electrical system to the main power grid is not a DIY task, and is best left to professionals. In many jurisdictions these connections can only be performed by a licensed electrician.
In the United States, 100-amps is generally the lowest capacity electrical service you will see for residential installations. It is more common to find 200-amp service, while larger homes, or homes with all-electric appliances, may have 300- or even 400-amp service.

Remember that your home’s current electrical needs may change over time. In some regions, fossil fuels like natural gas are slowly being phased out, so you may want to consider installing a panel with sufficient capacity to let you replace your gas appliances with electric alternatives in the future.
Running Wires
With the electrical panel in place, it’s time to run wires throughout your home. It is essential to choose the right materials for the job in order to comply with building code requirements. Generally, new construction requires non-metallic (NM) sheathing for any cable that will be routed through walls.
Note: Cabling is a sheathed bundle of at least three wires including a positive, or hot, wire, a neutral wire, and a ground wire. Sometimes non-metallic cabling is referred to by the brand name Romex, although there are many brands on the market.
Remember that not all electrical circuits carry the same amount of volts and amps and so the wiring will need to be sized accordingly. A standard 15-amp circuit may only need 14-gauge wire, while a 50-amp electric range will require 6-gauge wire. Additionally, you will need to choose a type of wire connector that is appropriate for your cabling. For example, if you are joining aluminum to copper you will need a different type of connector than for copper on copper connections.
When planning your wire routing it is important to consider other systems such as plumbing and HVAC. Failure to do so may complicate later steps and in some cases could even require rewiring.
Once you’ve selected the correct type and size of cable and have determined your route, you will need to drill ¾” holes through studs and joists that the electrical cable will pass through. It helps to drill holes all at once to make the wiring process go more smoothly. Cables will need to be supported along their length with cable straps or staples, as well as near where they terminate at electrical boxes. Confirm with local code to verify the correct distances.
Labeling the wires during the routing process is a good idea and can also help make future maintenance or home improvement upgrades easier.

Install Peripherals
After the rough-in wiring process is complete you will need to wait for the drywall to be installed and painted. While you could move on before the painting is complete, this will make the job of painting much more difficult as each switch and outlet will need to be masked off.
Installing outlets: Outlets should be installed according to your wiring plan and local codes. The National Electrical Code (NEC) requires tamper-resistant receptacles (TRRs) in most residential settings to protect children against electrical shock. When installing outlets in wet or damp locations, GFCI protection is typically required. You may want to consider installing outlets which include USB-chargers, particularly in areas where you will be charging devices.
Installing switches: Light switches should be installed in convenient locations to control lighting fixtures throughout your home. Dimmer switches can also be installed to provide adjustable lighting levels and improve energy efficiency.
Installing fixtures: Lighting fixtures, such as ceiling fans, chandeliers, and wall sconces, should be installed according to the manufacturer’s instructions and local codes.
Test The Electrical System
After completing the installation, it’s essential to test the electrical system to identify any potential issues and ensure the system’s safety and functionality. The whole house should be checked for proper voltage and grounding, with special attention paid to GFCI and AFCI protected circuits.
Conclusion
Wiring a new house is a complex task that requires ample planning, and no small amount of specialized skills and knowledge. The steps outlined in this guide are a basic overview of what you can expect from the process – but should not be taken to be an exhaustive description.
When installing new wiring, we recommend working with a professional electrician who has experience with new construction and understands the local codes. Even if you are interested in performing some of the work yourself, it is essential to remember that many jurisdictions require certain steps of the installation to be performed by licensed electrical contractors.
